
LoopBox (2021)
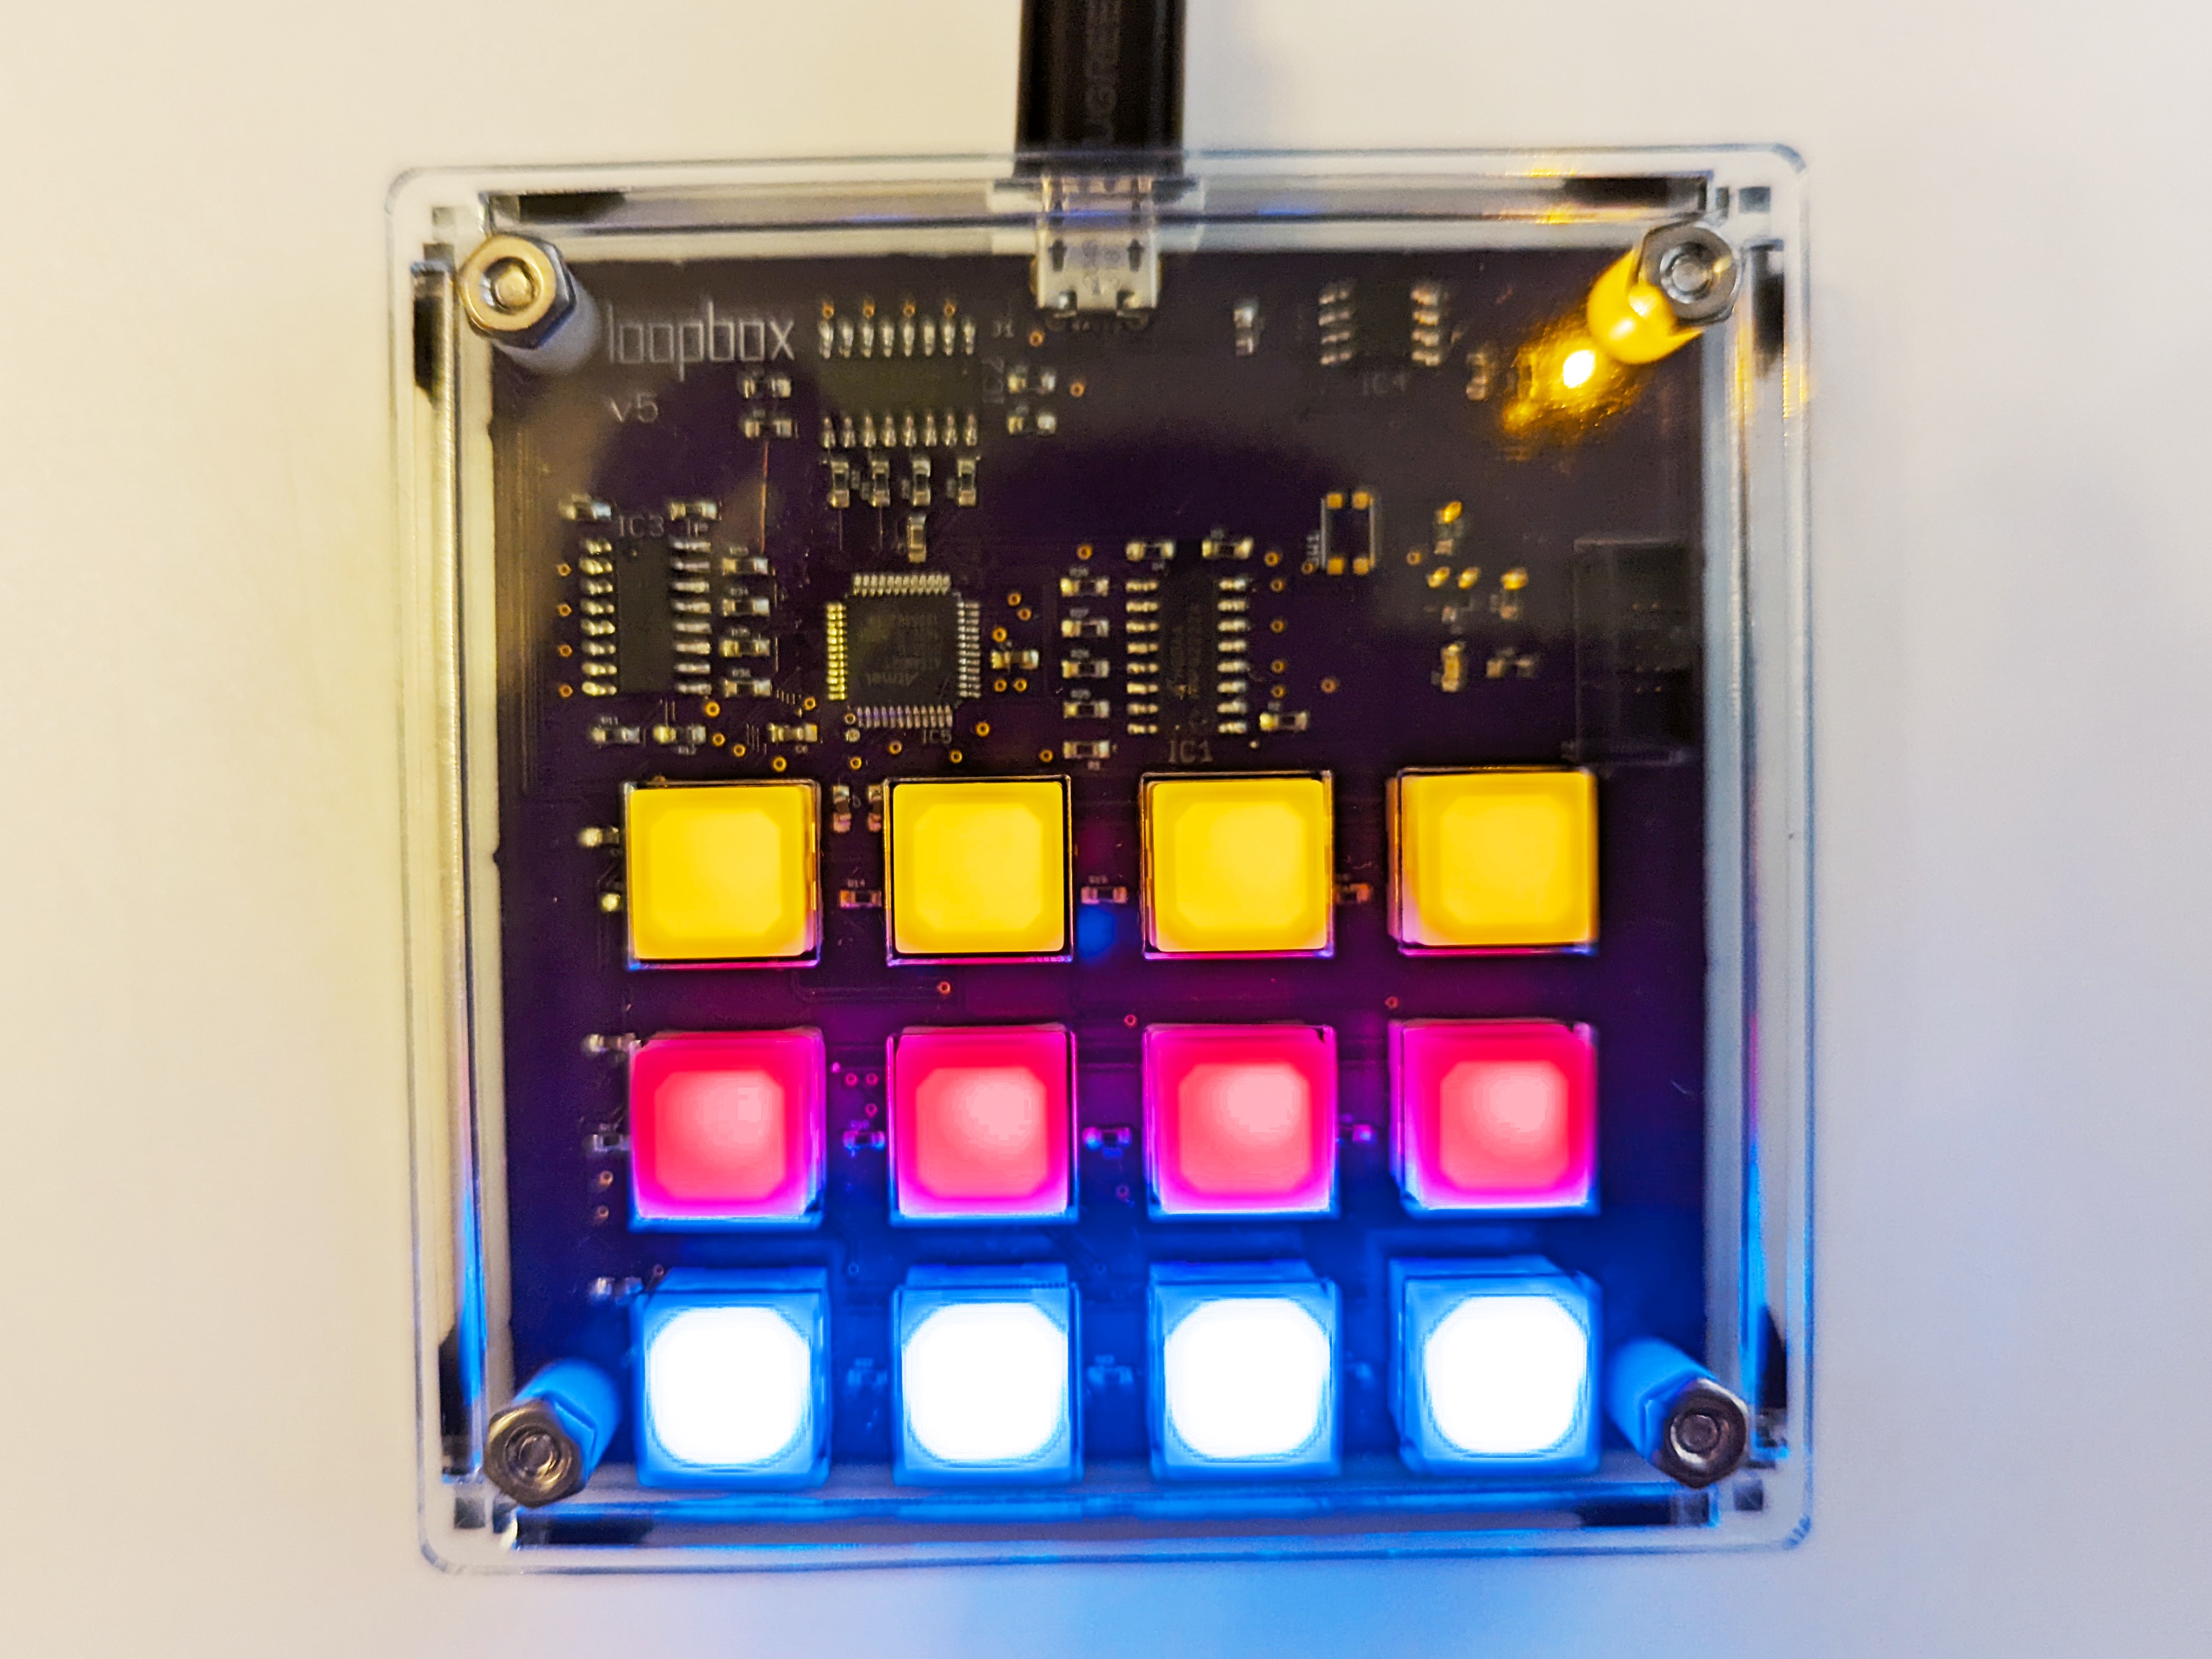
I designed this MIDI controller for my friend, who uses the Looper device in Ableton Live extensively. It’s a grid of 12 light-up buttons designed to control four tracks:
- The yellow buttons mute and unmute
- The red buttons arm the tracks
- The blue buttons start and stop record/overdub on the Looper device
The V1 LoopBox
I designed the first version several years ago. It relied on a Teensy dev board. It was a “cradle” type design, where I designed a board containing all the buttons and LED drivers, and the Teensy dropped into a socket in the board.
It worked nicely, and I was pleased to see my friend use it for many performances over the past few years. But two flaws bothered me.
First, using the Teensy created some physical problems. It sat in a socket that raised it above the level of the buttons. And the USB socket was on the Teensy, so it ended up somewhere in the middle of the board instead of on a edge. These issues made it really difficult to design a decent enclosure.
Secondly, I don’t like using the Arduino toolchain. It’s nice for testing an idea quickly, but for any project I care about longterm I want to use more traditional tools.
The V2 LoopBox
For V2, I designed a custom board from scratch around the ATSAMD21G microcontroller from Microchip. This took me a few tries, since I made some really dumb mistakes like connecting the USB data lines to the wrong pins. But overall, this turned out to be a pretty easy design.
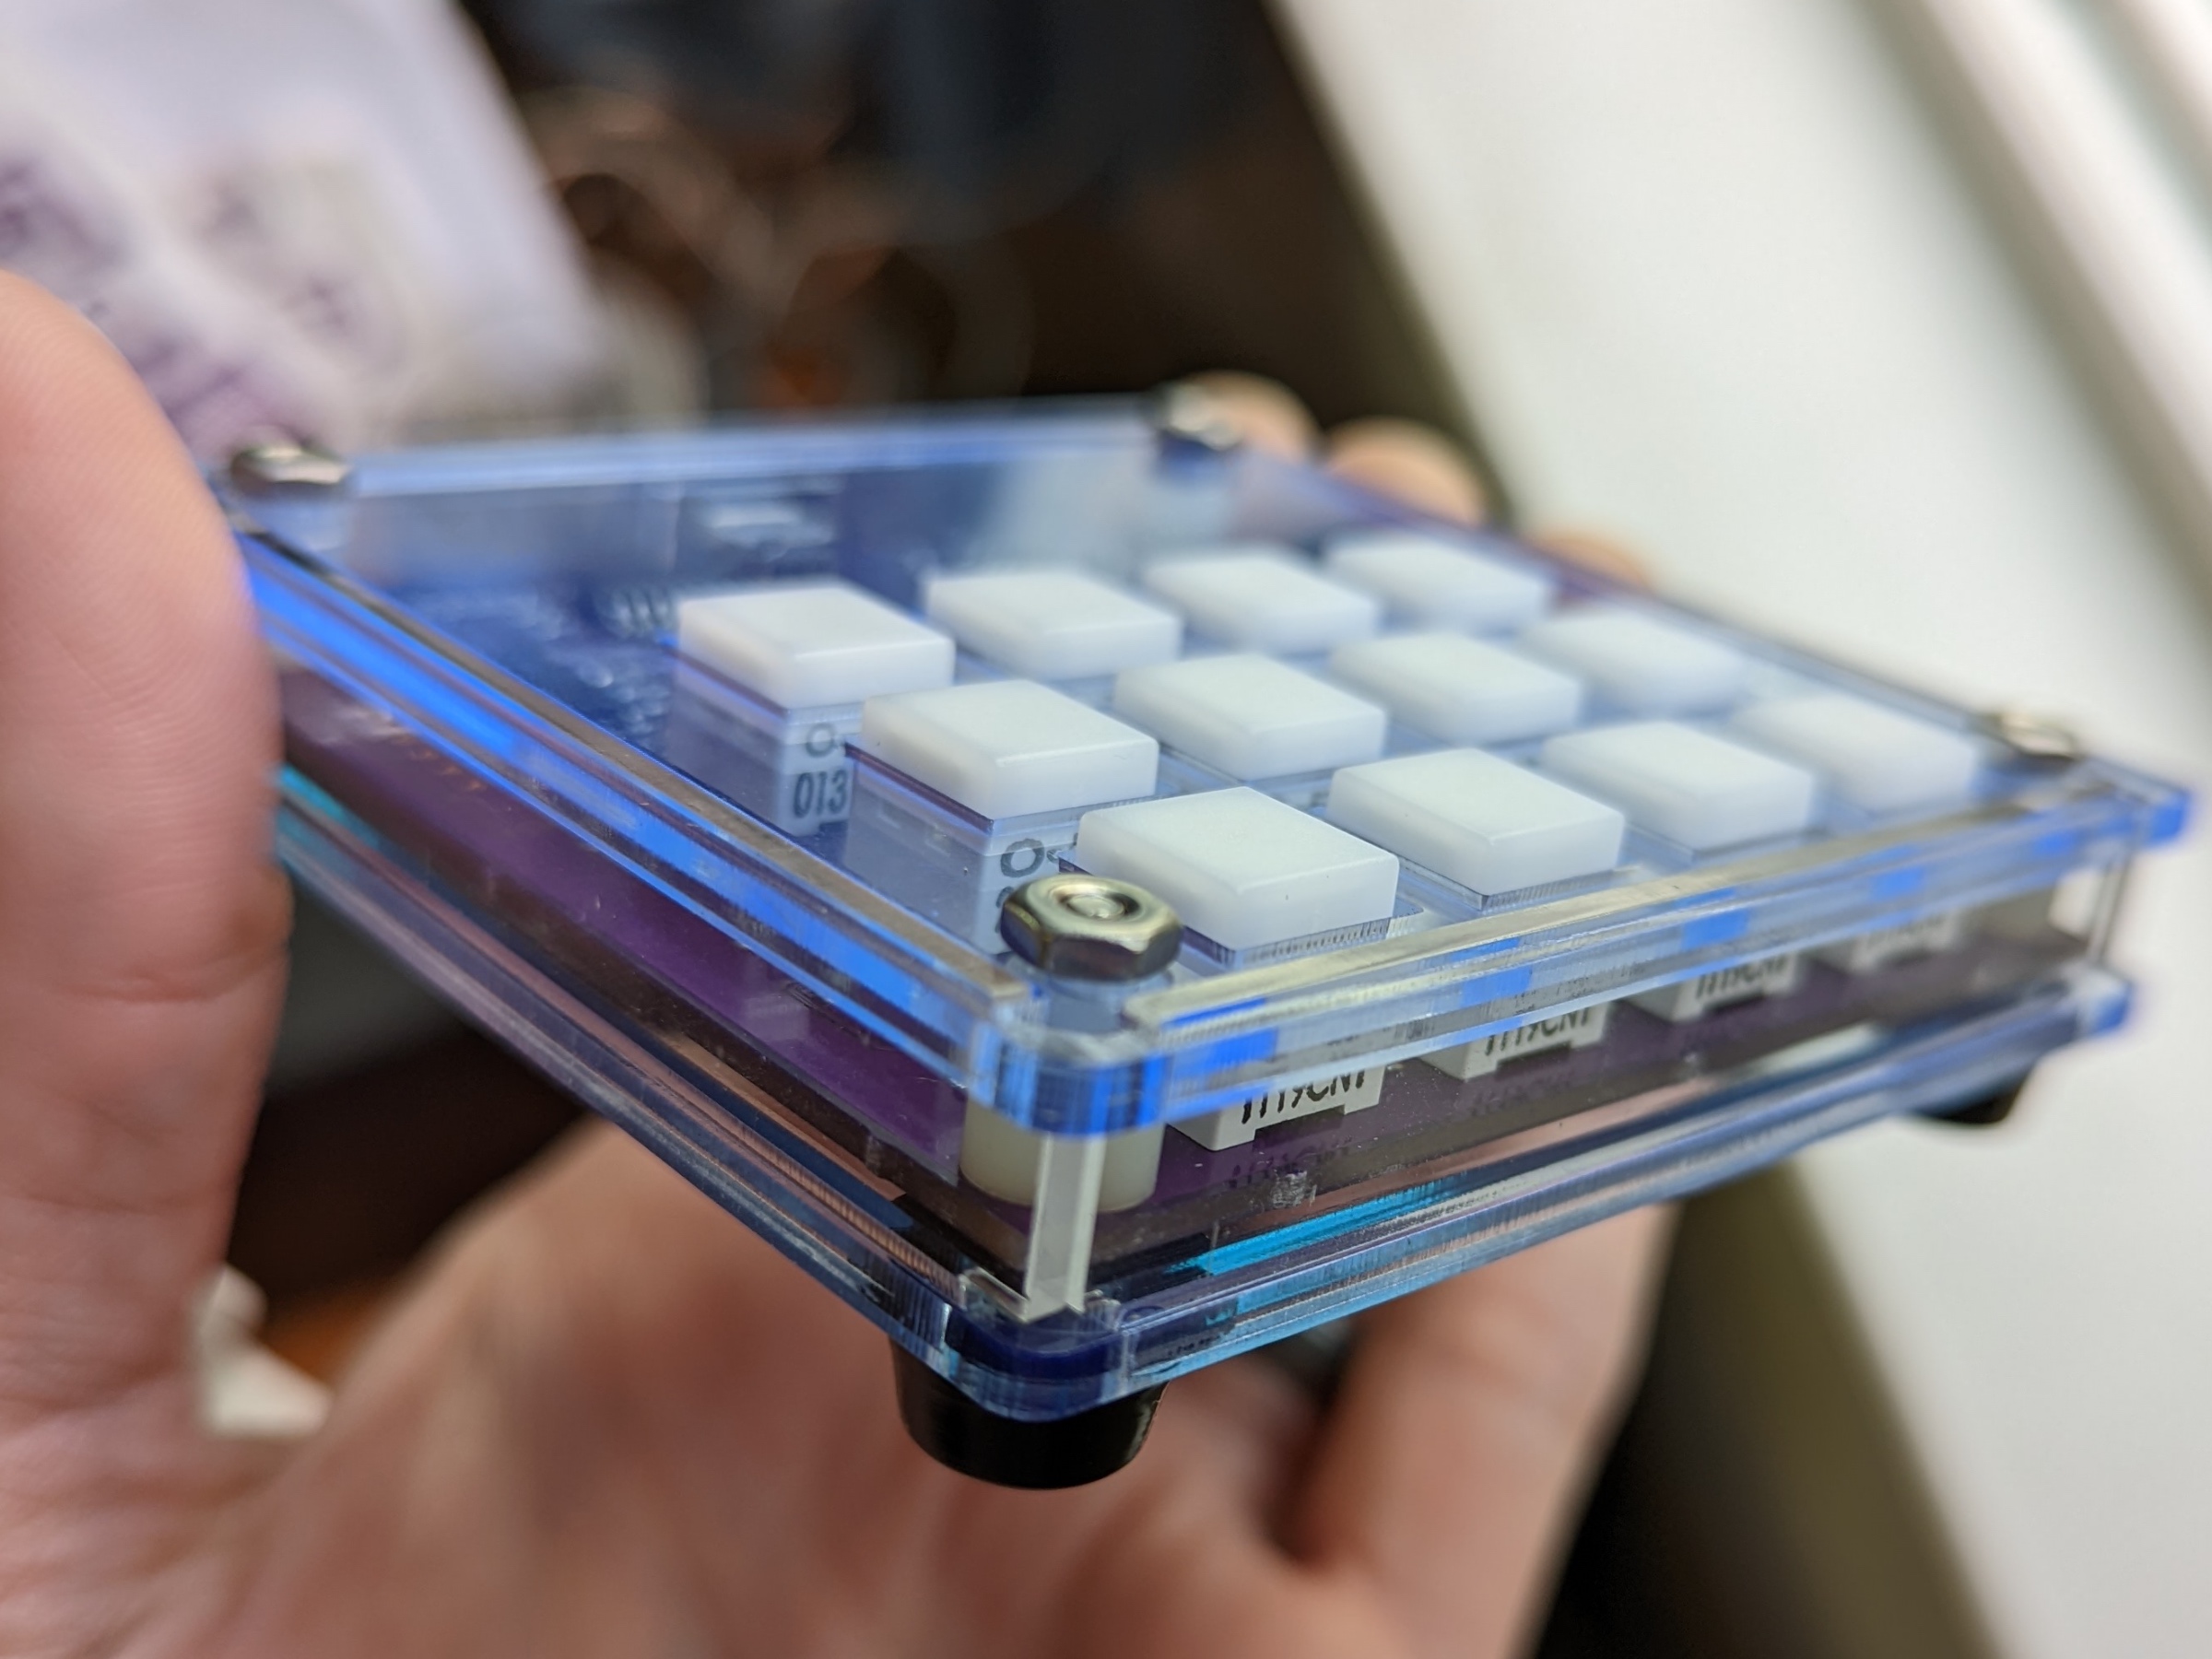
The enclosure
This is my first attempt at a custom enclosure (if you don’t count tearing apart an Altoids tin). The enclosure is made of six pieces of laser-cut acrylic, courtesy of Ponoko.
My experience with Ponoko was awesome: fast turnaround, lots of materials to choose from, and all the parts came out perfect.